
DIY Wallpaper Installation: A Step-by-Step Tutorial


Why Choose DIY Wallpaper Installation?
Wallpaper can transform a room, adding texture, color, and personality. While hiring a professional might seem like the easiest option, tackling the job yourself can be both rewarding and cost-effective. With the right tools and guidance, you can achieve a professional look on your own. Plus, DIY projects offer a personal touch that you can proudly showcase in your home.
Before diving in, it's important to understand the basics of wallpaper installation. This includes preparing your walls, choosing the right wallpaper, and using the correct techniques for a smooth finish. With our step-by-step tutorial, you'll be equipped to handle each stage of the process with confidence.

Gathering Your Tools and Materials
Before you begin, you'll need to gather all necessary tools and materials to ensure a seamless installation process. Here's a checklist of essential items:
- Wallpaper rolls
- Wallpaper paste or adhesive
- Smoothing tool or brush
- Utility knife
- Measuring tape
- Level
- Sponge and clean cloth
Having these tools on hand will help streamline the installation process and prevent unnecessary delays. Ensuring that your materials are ready will also help you maintain a steady pace as you work.
Preparing Your Walls
Proper wall preparation is crucial for a successful wallpaper installation. Start by cleaning your walls to remove dust, dirt, and any previous wallpaper residue. A clean surface allows the adhesive to bond effectively, ensuring that your wallpaper stays in place for years to come.
Next, inspect your walls for any imperfections, such as holes or cracks. Use a filler to smooth out uneven surfaces. Once dry, sand the area for a flawless finish. Applying a primer is also recommended, especially if your walls are painted in dark colors or if you're using a thin wallpaper.

Measuring and Cutting Wallpaper
Accurate measurements are vital to avoid wastage and ensure that patterns align correctly. Measure the height of your walls and add an extra 2-3 inches to allow for trimming at the top and bottom. Cut your wallpaper strips accordingly.
If your wallpaper has a pattern, take extra care to match it when cutting multiple strips. This attention to detail will create a seamless look across your walls.
Applying Wallpaper Paste
Depending on the type of wallpaper you've chosen, you may need to apply paste directly to the paper or the wall. Always follow the manufacturer's instructions for best results. Lay your cut strip face down on a flat surface and apply paste evenly using a brush or roller.
For pre-pasted wallpaper, simply immerse the strip in water following the instructions provided. Allow the adhesive to activate before proceeding with installation.
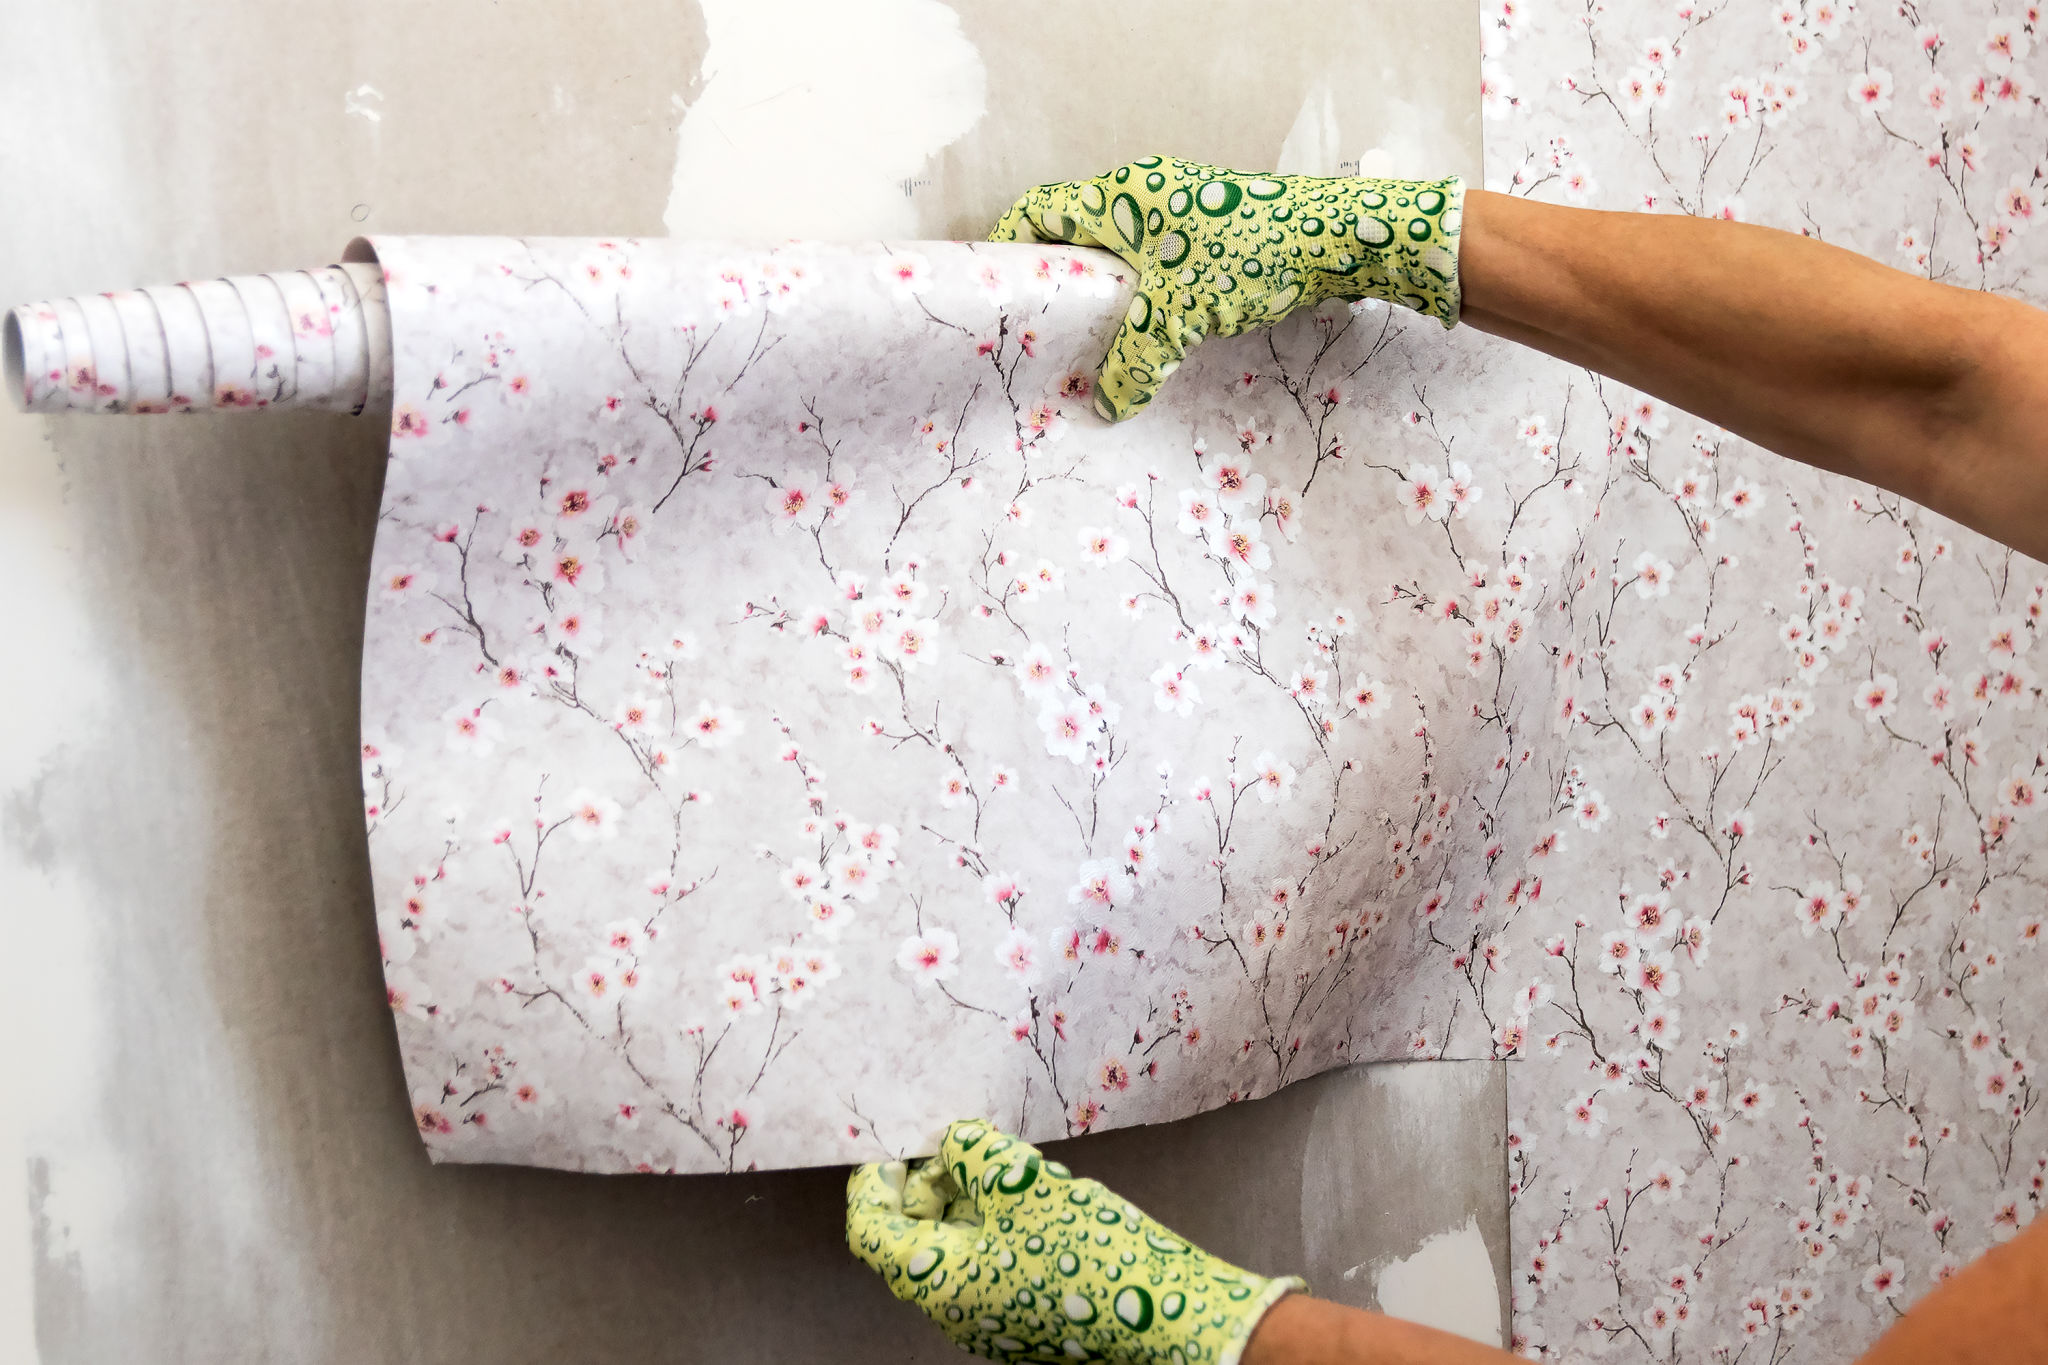
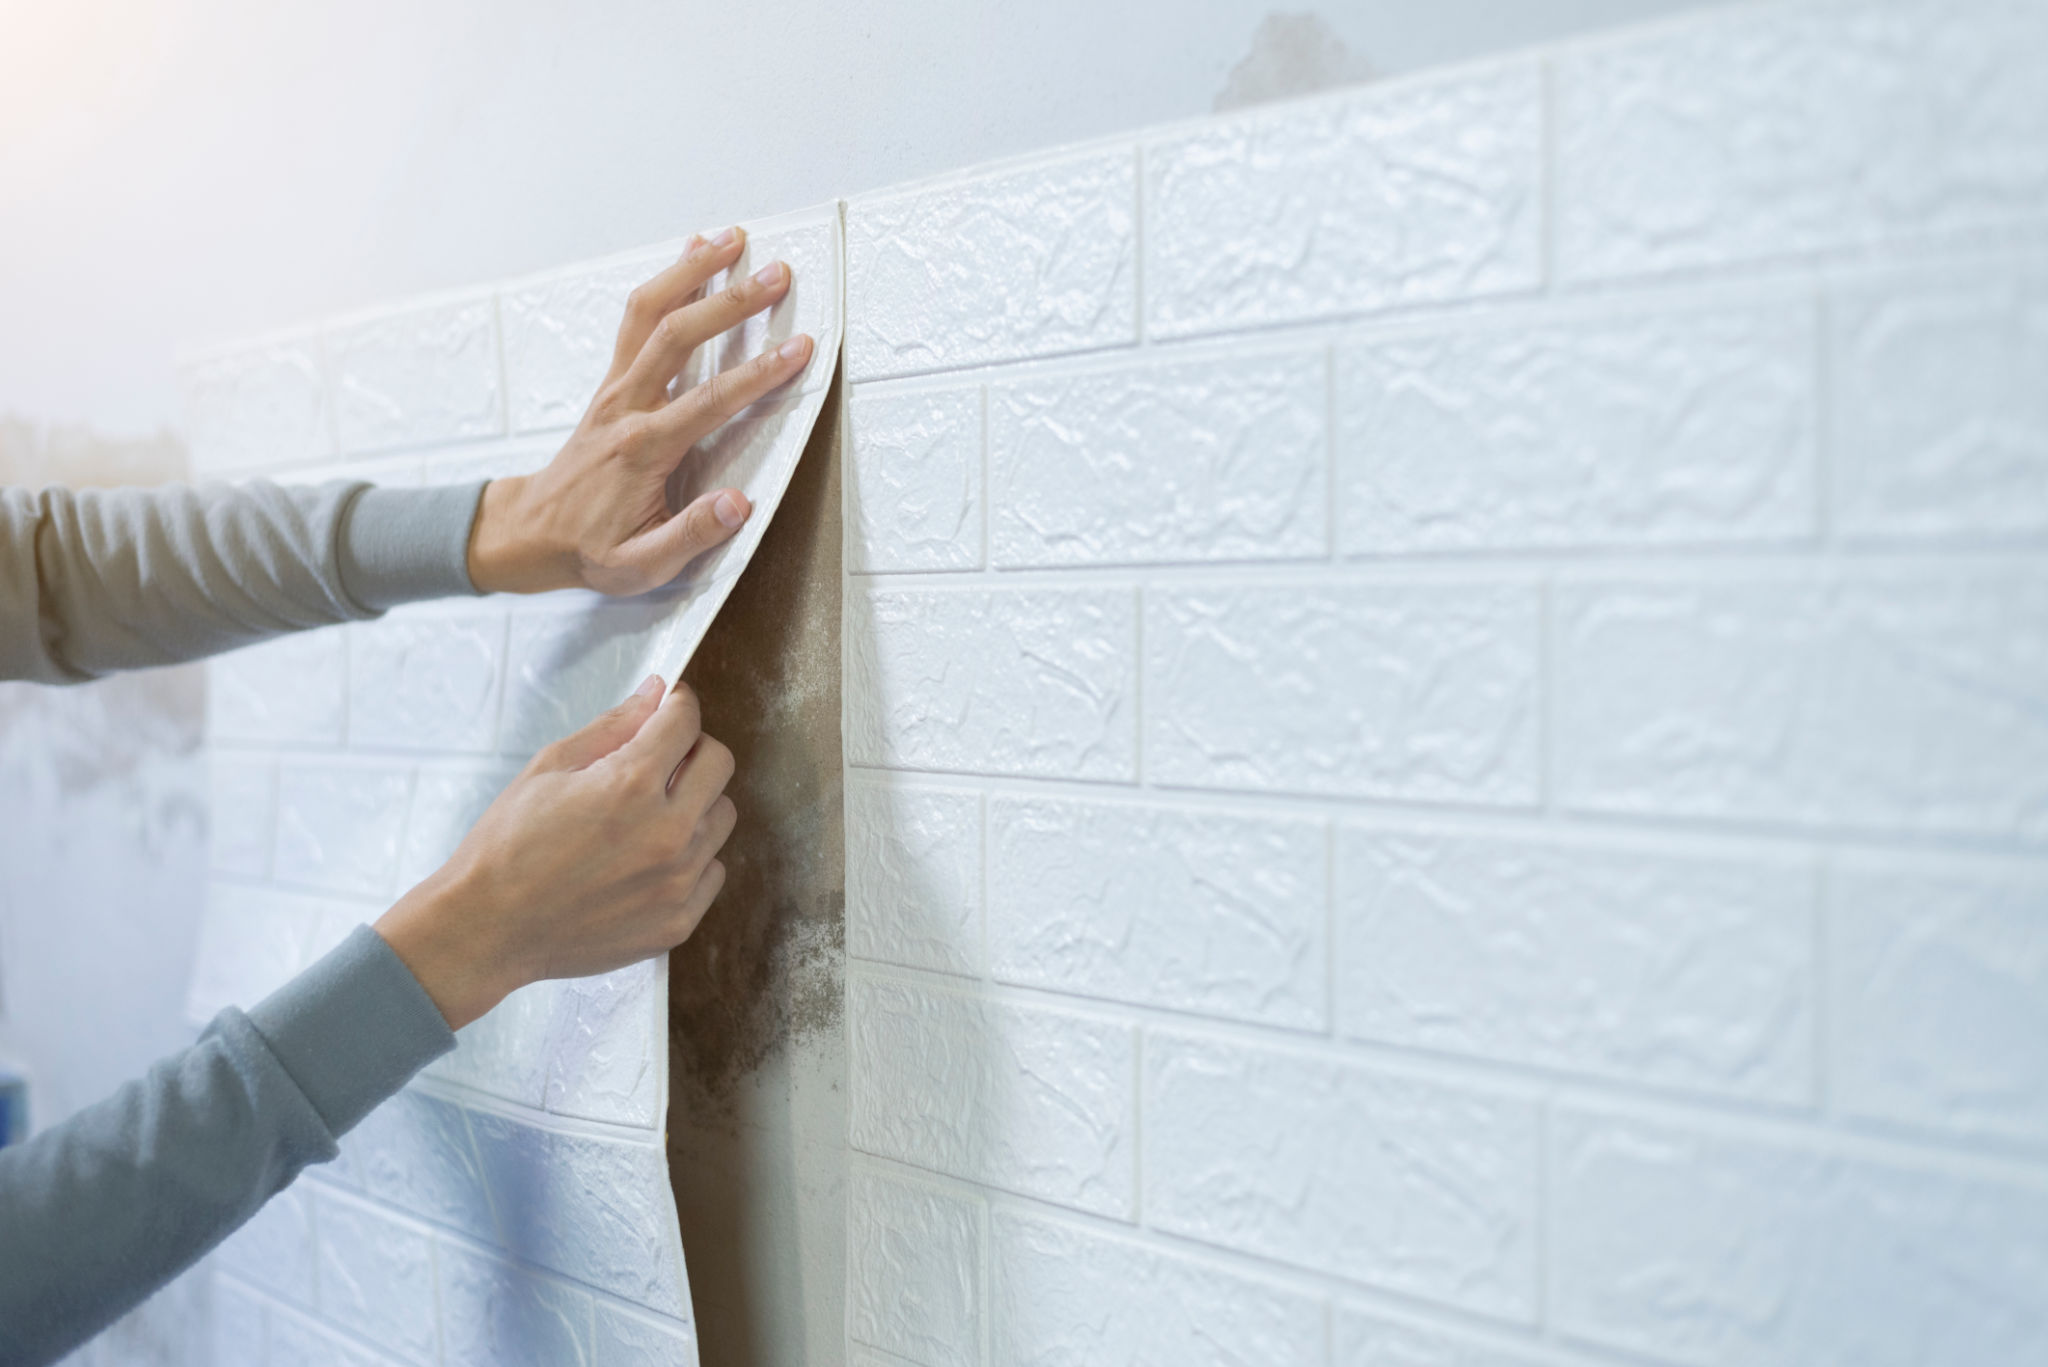
Hanging Your Wallpaper
Start by marking a straight line on your wall using a level to guide your first strip. Align the top of the strip with the ceiling or molding and gently press it onto the wall. Use a smoothing tool to remove air bubbles and excess paste, working from the center outward.
Continue hanging additional strips, ensuring patterns match and edges are flush. Trim excess paper at the ceiling and baseboard using a utility knife for a clean finish.
Final Touches
Once all strips are hung, take a step back to inspect your work. Make any necessary adjustments to ensure seams are tight and patterns align perfectly. Wipe away excess paste with a damp sponge for a polished look.
Allow your newly wallpapered room to dry completely before moving furniture back into place. This patience will ensure that your hard work remains intact and looks stunning for years to come.
Caring for Your Wallpaper
Maintaining your wallpaper is essential for preserving its appearance over time. Regularly dusting with a soft cloth can prevent dirt buildup. For more stubborn marks, use a damp sponge with mild soap, but always test on an inconspicuous area first.
By following these simple steps, you can enjoy a beautifully decorated space that reflects your personal style and handiwork.