
DIY Wallpaper Installation: Tips and Tricks for Beginners


Getting Started with Wallpaper Installation
Transforming your walls with wallpaper can be a rewarding DIY project. It's an excellent way to add personality and style to any room. However, if you're new to wallpaper installation, the process may seem daunting. Don't worry; with the right tools and techniques, you can achieve professional-looking results. In this guide, we'll walk you through some essential tips and tricks for beginners.
Gather the Right Tools
Before you start, it's crucial to have all the necessary tools on hand. Here's a list of items you'll need:
- Wallpaper rolls
- Measuring tape
- Utility knife or scissors
- Smoothing brush or roller
- Paste or adhesive (if not pre-pasted)
- Level or plumb line
- Sponge and bucket of water
Having these tools ready will ensure a smoother installation process.
Preparing Your Walls
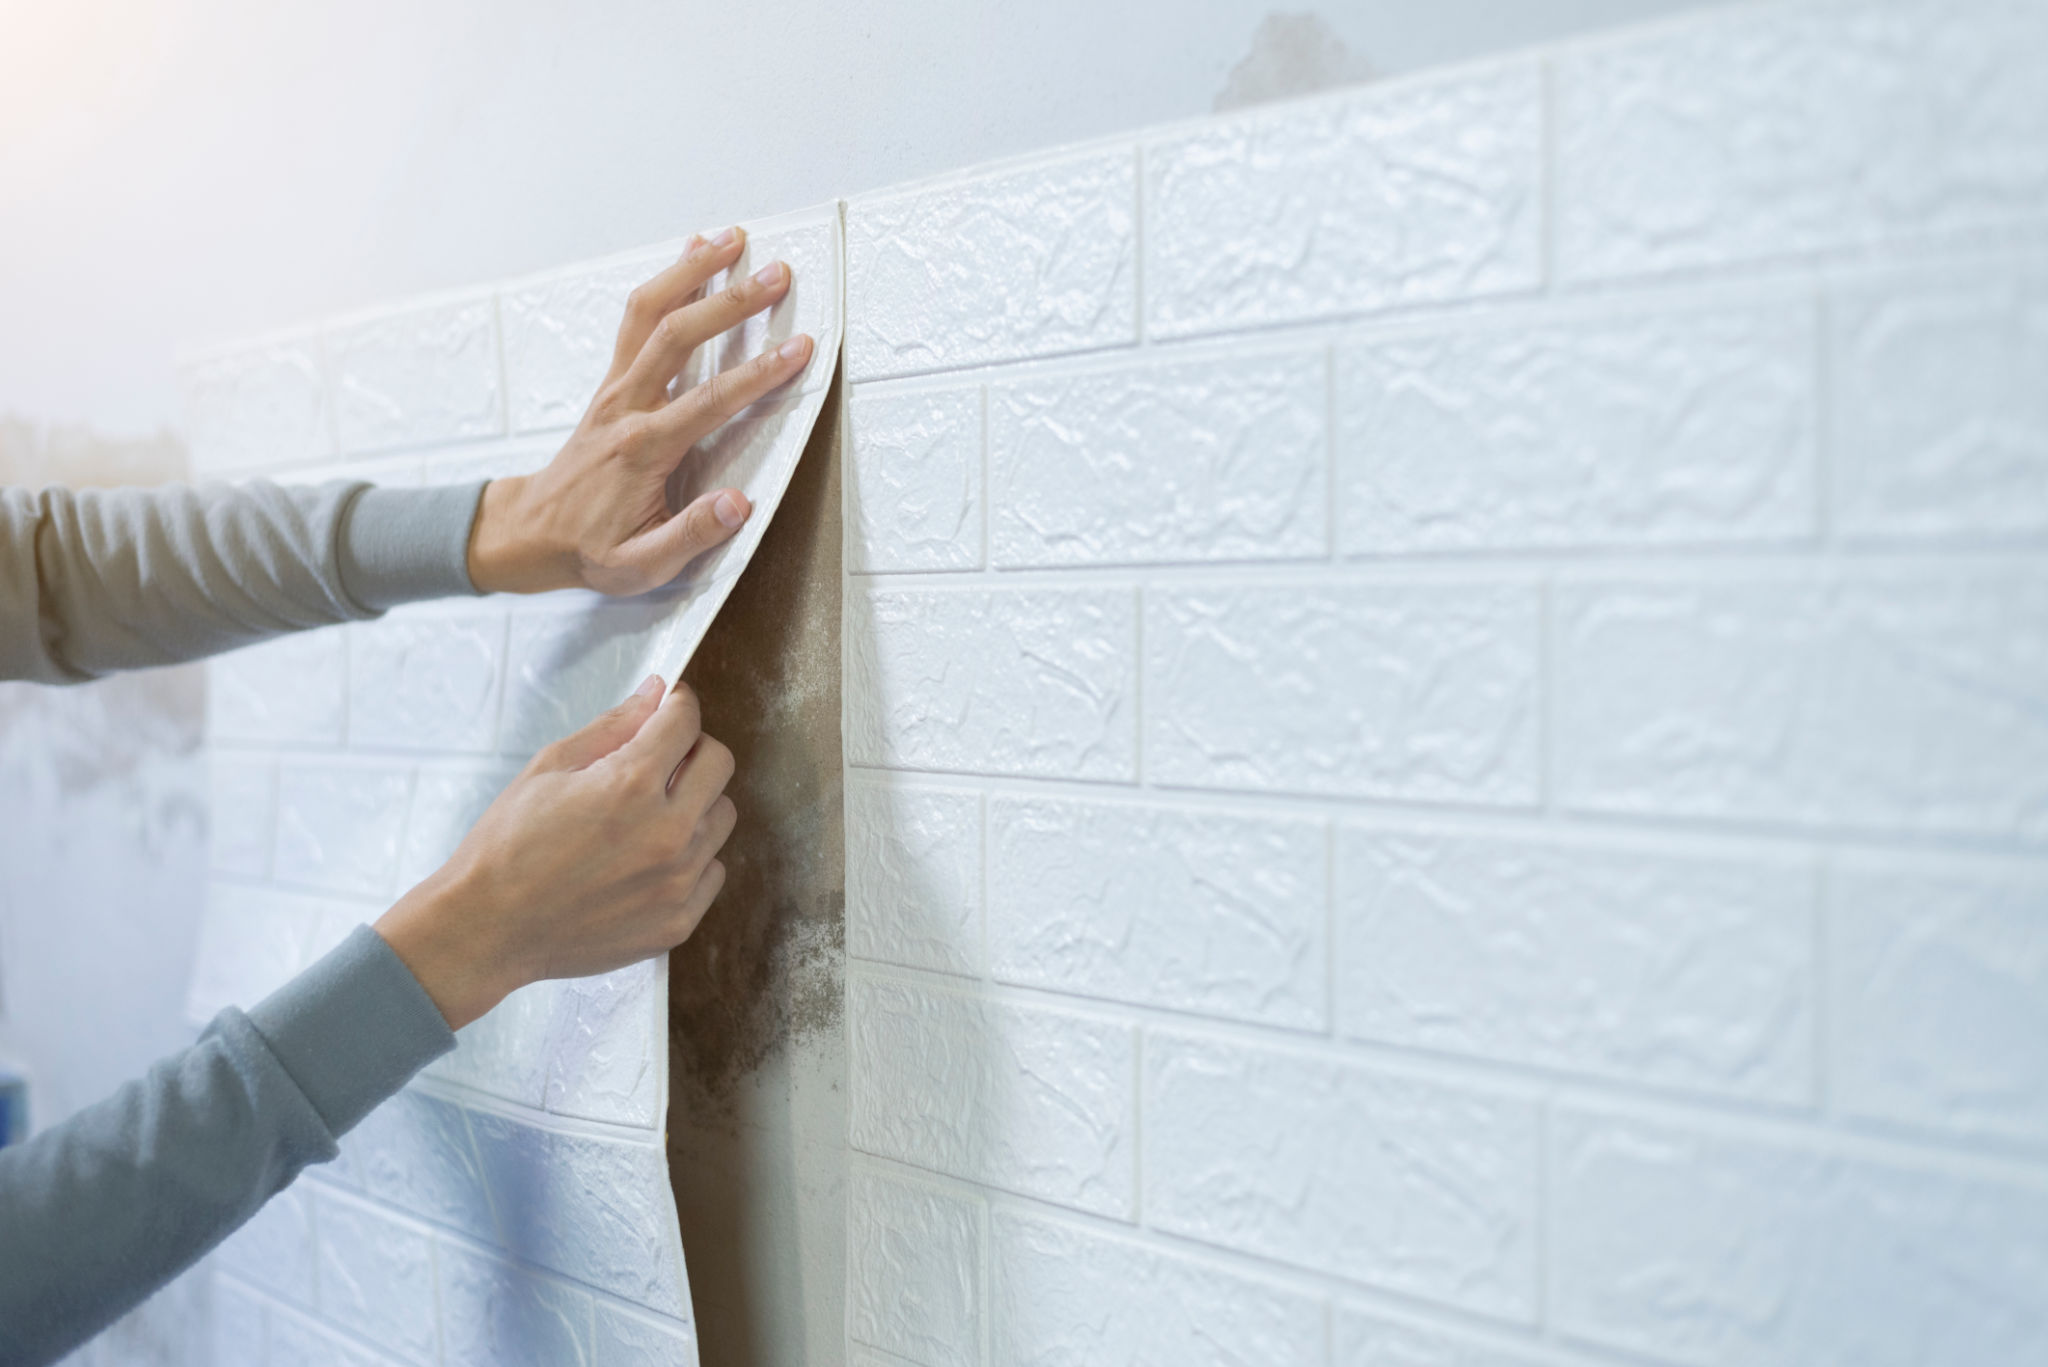
Preparation is key to a successful wallpaper installation. Begin by cleaning your walls thoroughly to remove any dust or grease that might prevent the wallpaper from adhering properly. If your walls have existing wallpaper, remove it completely and repair any imperfections like holes or cracks.
Next, apply a coat of primer or wallpaper sizing to your walls. This step helps the wallpaper stick better and makes it easier to reposition if necessary. Allow the primer to dry completely before proceeding.

Measuring and Cutting
Careful measuring and cutting are crucial to avoid wasting wallpaper. Measure the height of your wall from ceiling to floor and add a few extra inches for trimming. Unroll the wallpaper and use your measurements to cut each strip, ensuring that patterns align correctly between strips.
Tip: It's always a good idea to cut all your strips before starting to hang them. This practice saves time and helps maintain pattern consistency throughout the room.
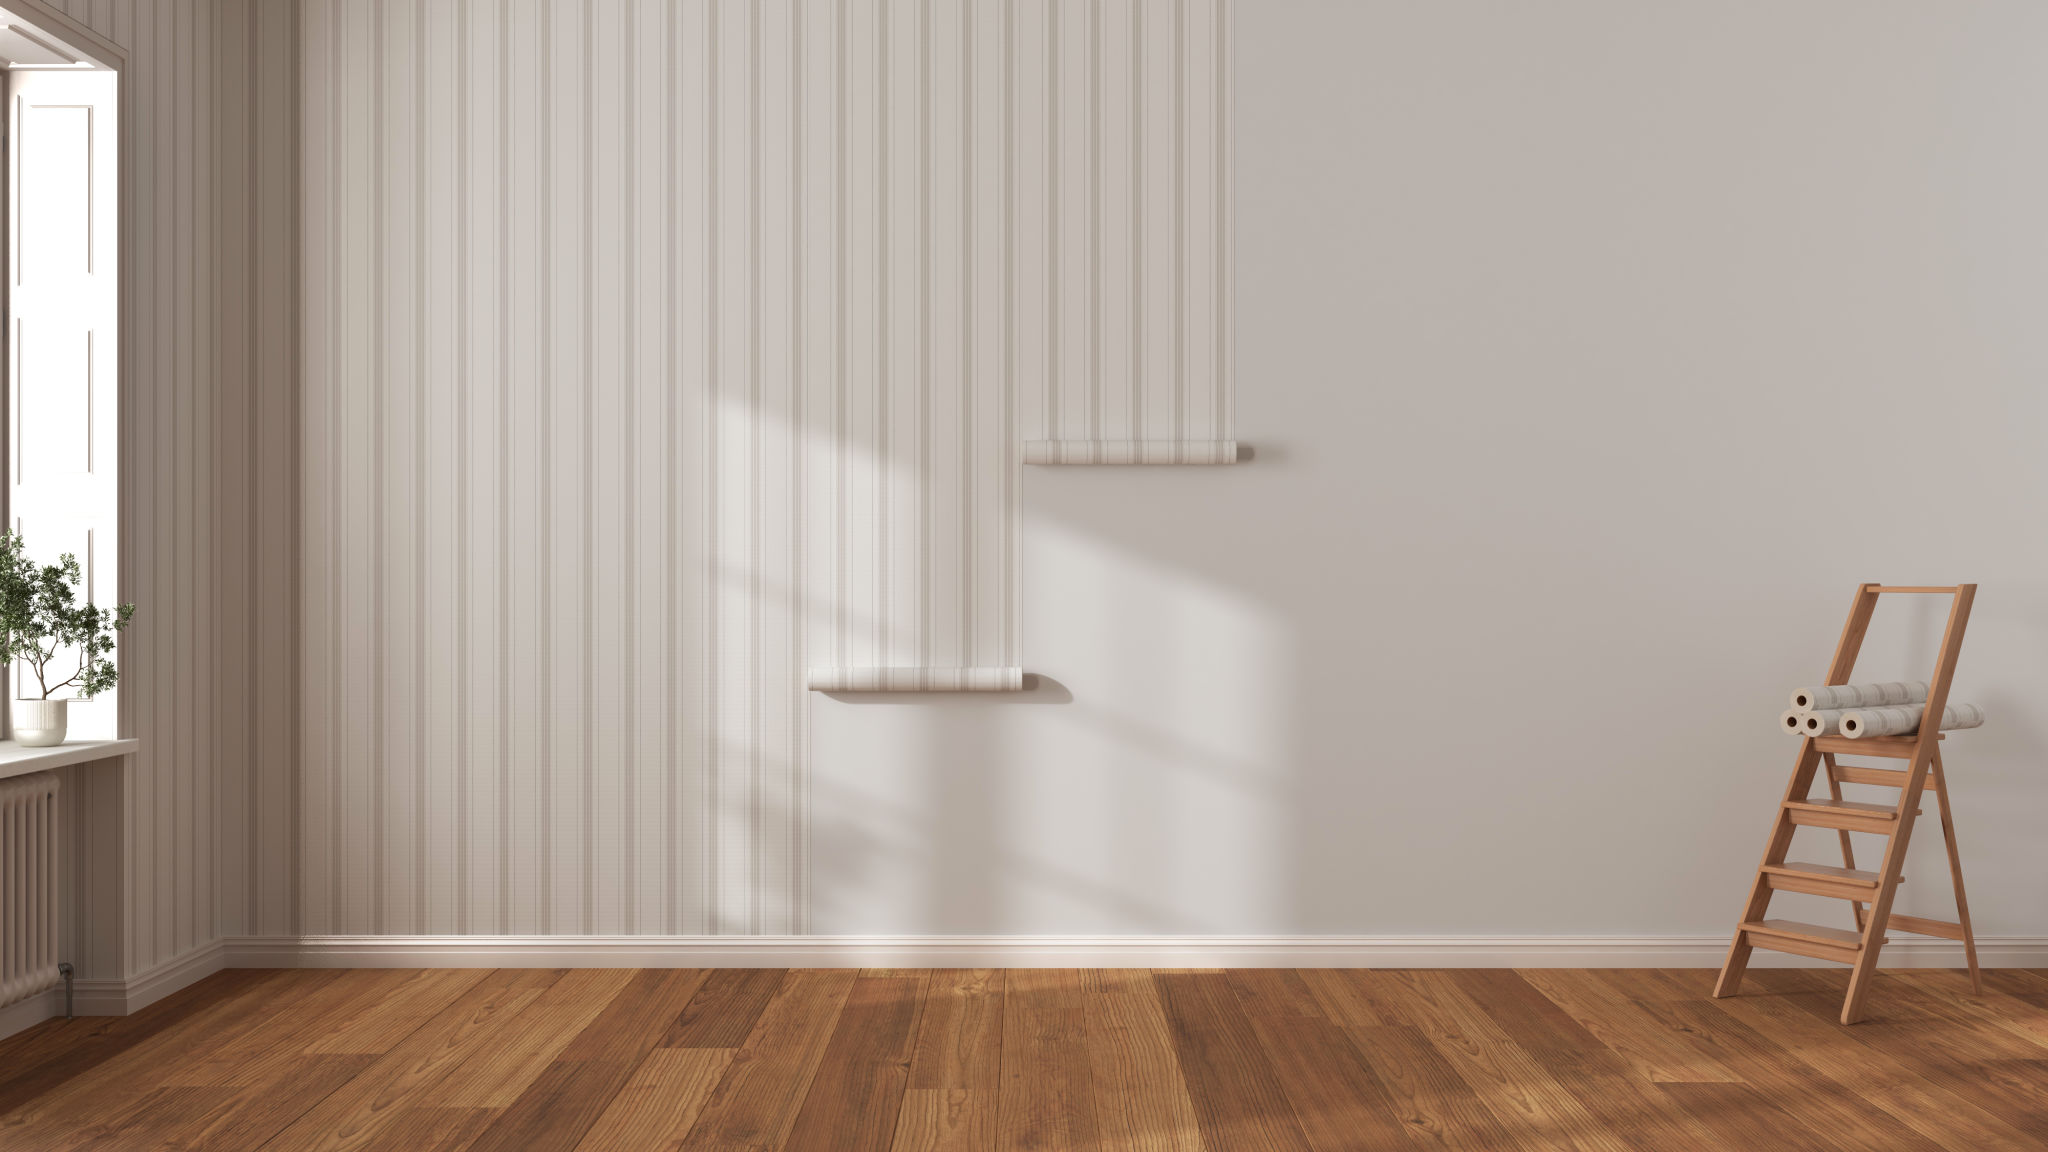
Applying the Wallpaper
If you're using pre-pasted wallpaper, activate the adhesive by following the manufacturer's instructions, usually involving soaking the strip in water. For unpasted wallpaper, apply the adhesive evenly on the back of the strip using a paste brush or roller.
Start by hanging your first strip at one corner of the room, using a level or plumb line to ensure it's straight. Smooth out air bubbles with a smoothing brush or roller, working from the center outwards. Continue applying strips, ensuring patterns match at the seams.
Trimming and Finishing
Once all the strips are in place, use a utility knife or scissors to trim excess wallpaper at the top and bottom of each strip. Be careful not to cut too close to the wall surface, as this could damage the wallpaper.
Finally, use a sponge and bucket of water to remove any excess adhesive from the surface of the wallpaper. This step will prevent any unwanted residue from drying and potentially damaging your new wall covering.
Troubleshooting Common Issues
Even with careful planning, you might encounter some common issues during installation. If you notice air bubbles after hanging, gently lift the edge of the strip and smooth it out again. For mismatched patterns, adjust the strip slightly before the adhesive dries.
Remember: Patience is key. Don't rush the process, and you'll be rewarded with beautiful walls that look professionally done.
Enjoy Your New Space
Once you've completed your wallpaper installation, take a step back and admire your handiwork. You've transformed your space with your own hands, adding style and character that reflects your personal taste.
With these tips and tricks in mind, even beginners can tackle DIY wallpaper projects confidently. Enjoy your new space and the satisfaction that comes with a job well done.