How to Prepare Your Walls for Wallpaper Installation
Getting Started with Wallpaper Installation
Installing wallpaper is a fantastic way to add personality and style to any room. However, before you can enjoy the transformative effects, it's crucial to prepare your walls properly. Proper preparation ensures that your wallpaper adheres well and lasts for years to come. In this guide, we'll walk you through the essential steps to get your walls ready for wallpaper installation.

Assessing Your Walls
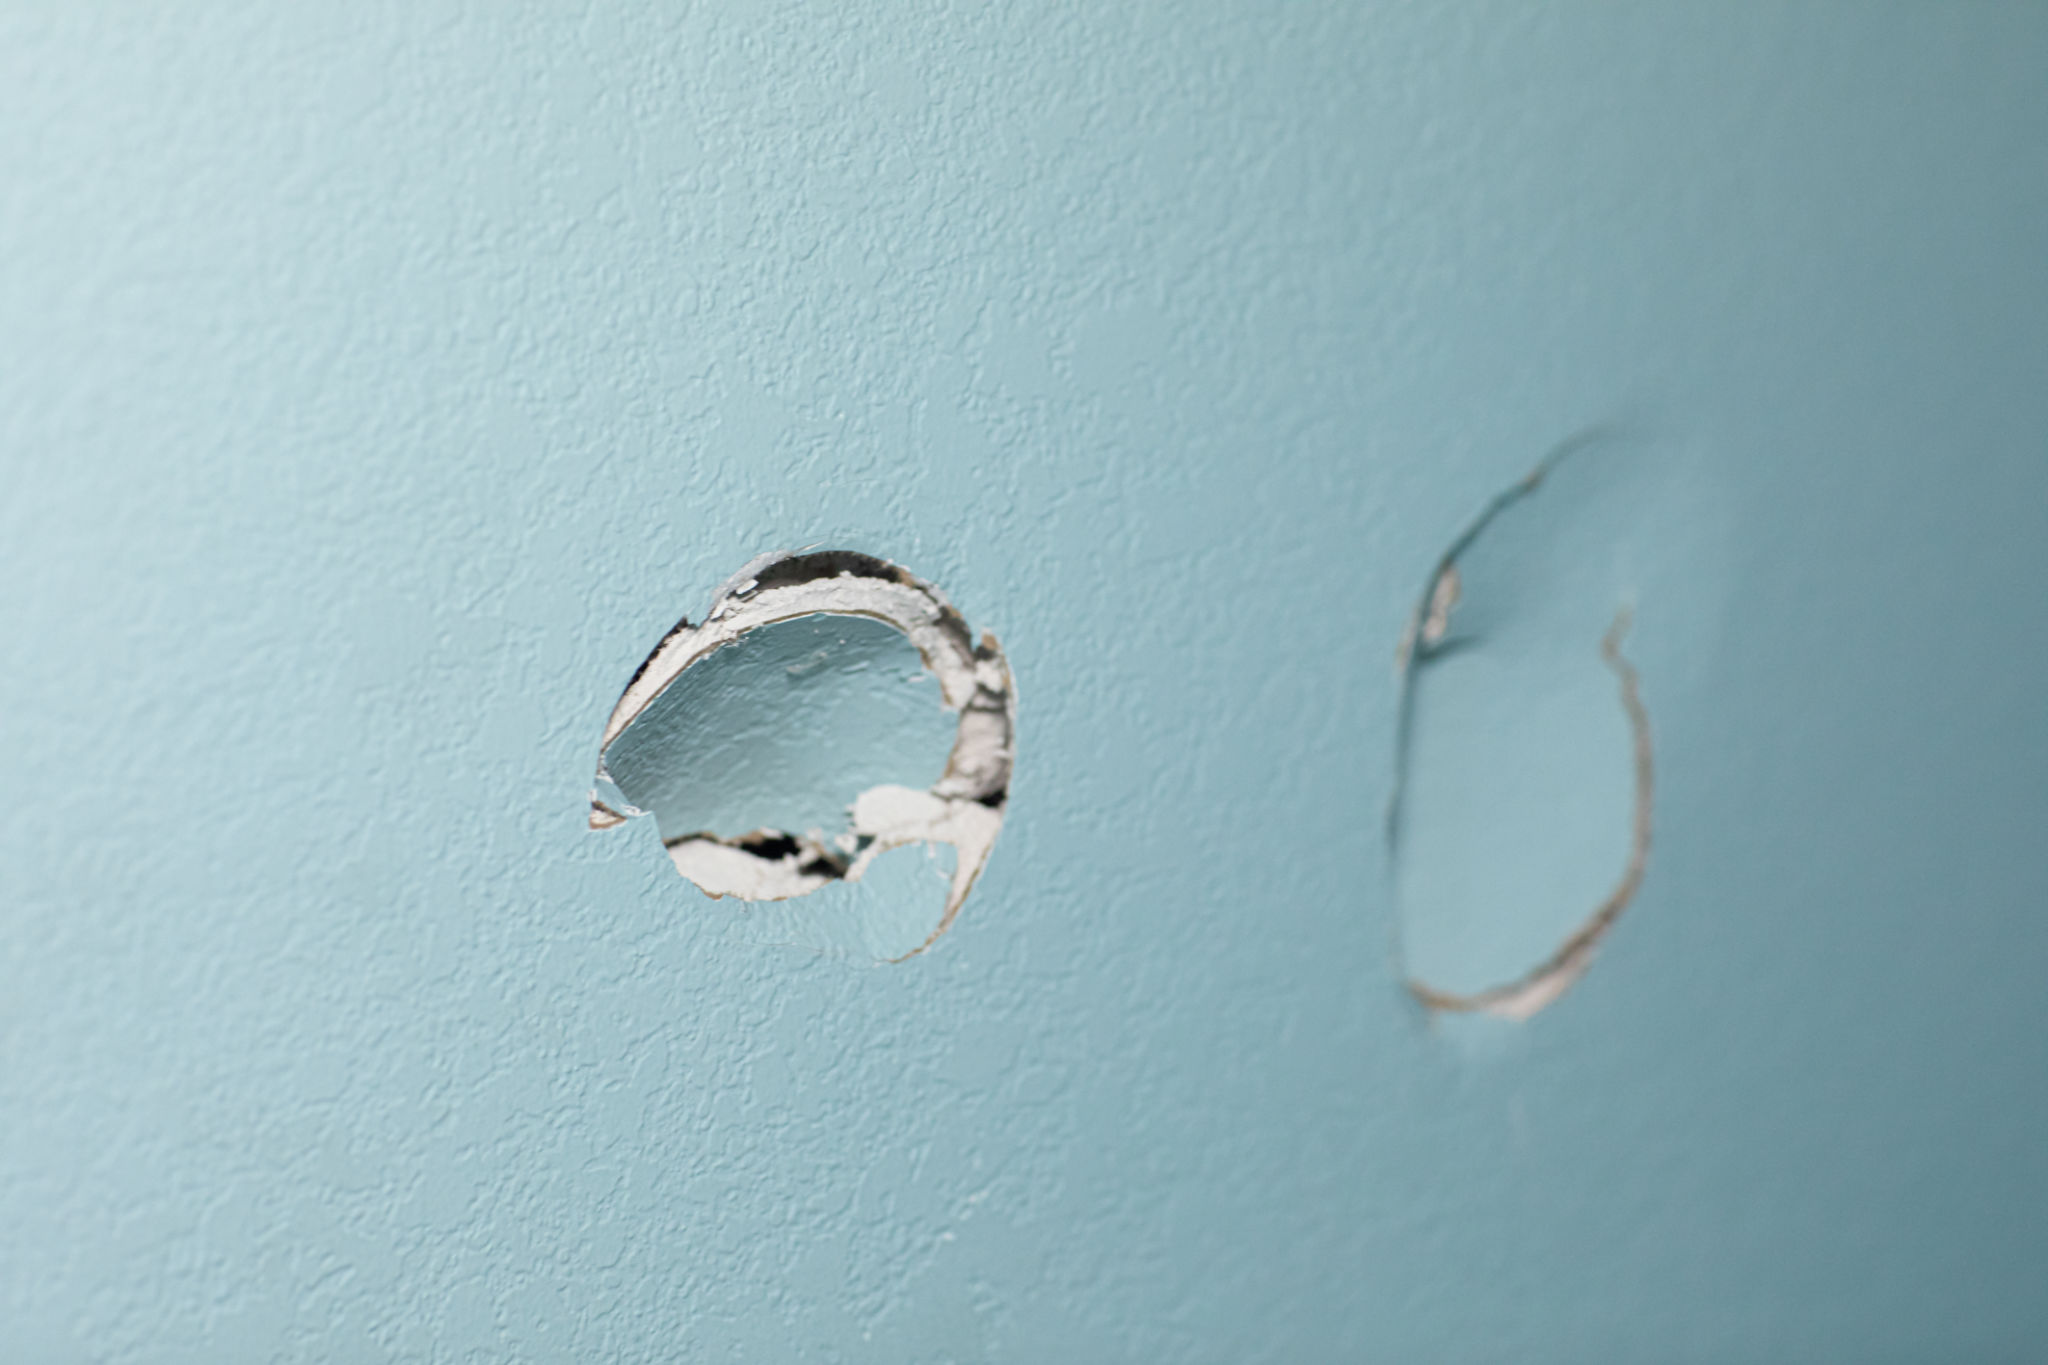
The first step in preparing your walls is to assess their current condition. Look for any imperfections such as cracks, holes, or peeling paint. These issues need to be addressed before you can proceed with wallpaper installation. Use a flashlight to inspect the walls closely, ensuring you catch every flaw.
If your walls have old wallpaper, it must be removed completely. Leaving old wallpaper can cause the new layer to bubble or peel off prematurely. You can use a wallpaper steamer or a stripping solution to soften the adhesive and gently peel off the old wallpaper.
Repairing and Smoothing the Surface
Once any old wallpaper is removed, it's time to repair your walls. Fill any holes or cracks with spackling compound, smoothing it out with a putty knife. Allow it to dry and then sand the area until it's even with the rest of the wall. This will create a smooth surface for the new wallpaper to adhere to.

Smoothing the walls is crucial, as even small bumps can become visible through wallpaper. Use fine-grit sandpaper to go over the entire surface, ensuring no rough spots are left behind. Always wipe down the walls with a damp cloth afterward to remove dust and debris.
Priming the Walls
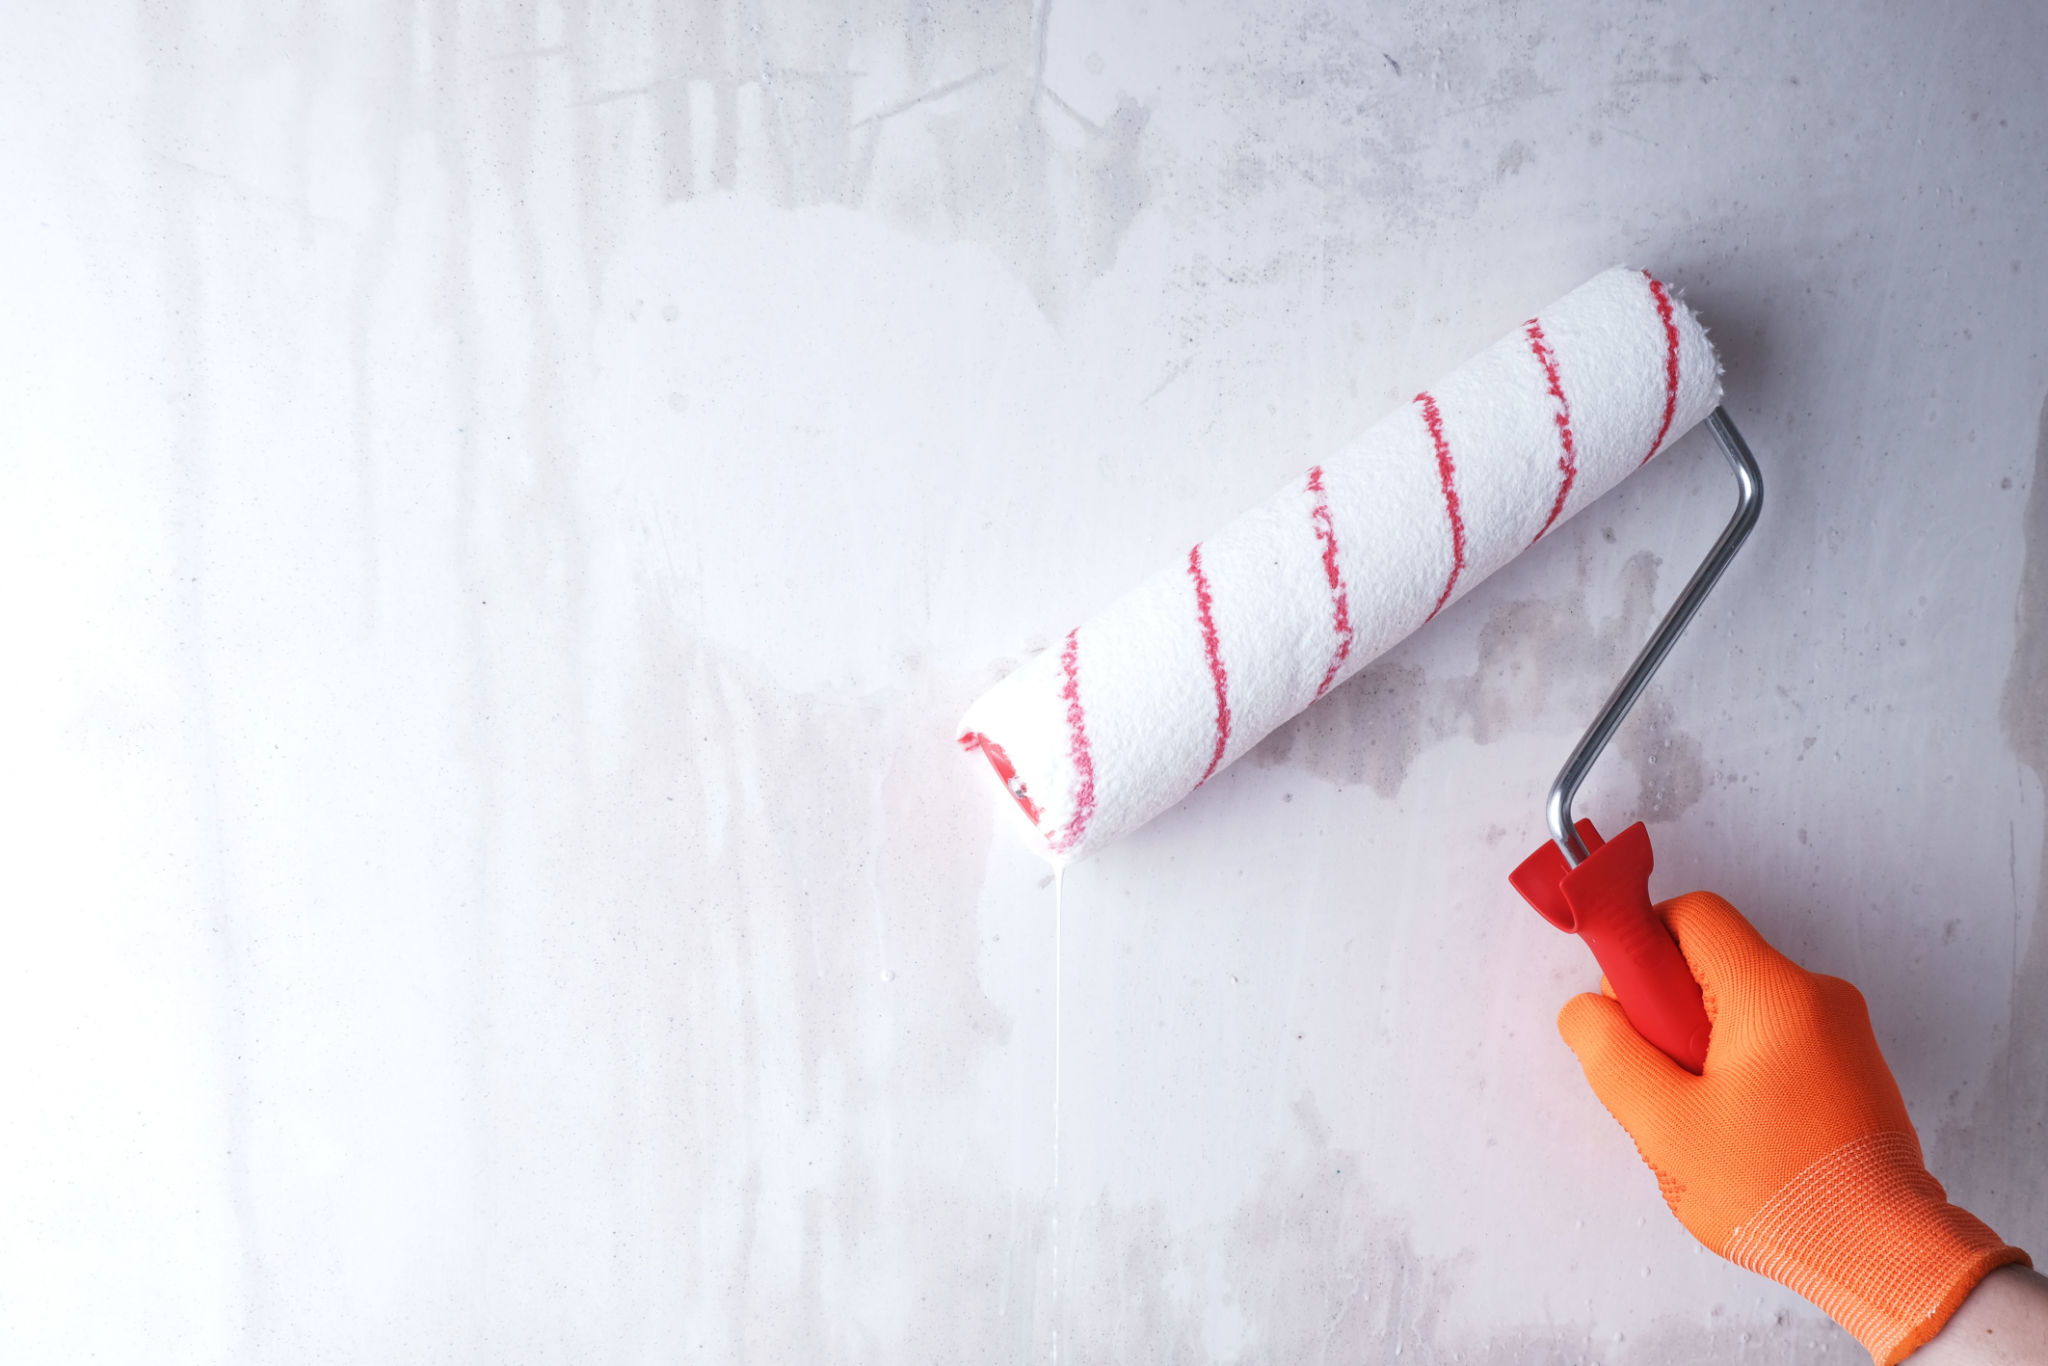
Priming your walls is an often-overlooked step but is vital for a successful wallpaper installation. A good quality primer will seal the wall surface and provide a better grip for the wallpaper adhesive. Choose a primer designed specifically for wallpapering, and apply it evenly across all areas you plan to cover.
Allow the primer to dry completely before proceeding. This step not only improves adhesion but also helps in easy removal of wallpaper when you're ready for a change in the future.

Measuring and Planning
Proper planning can save you a lot of time and frustration during installation. Start by measuring your walls to determine how much wallpaper you'll need. It's always wise to purchase a little extra for pattern matching and potential mistakes.
Consider starting from a focal point in the room, such as a doorway or window, and work your way around. This approach ensures that any mismatched seams or cuts will be in less noticeable areas like corners.
Final Preparations
With your walls primed and measurements taken, you're ready for the final preparations before installation. Gather all necessary tools such as a tape measure, level, smoothing brush, and a sharp utility knife.
Lay out your wallpaper strips in advance, ensuring that patterns align correctly before applying adhesive. With everything in place, you're all set to bring new life to your room with stunning wallpaper.
