
The Ultimate Guide to Interior Painting: Techniques and Tools


Preparing Your Space
Before you even dip a brush into a can of paint, preparation is key. Start by moving furniture away from walls and covering it with drop cloths or plastic sheets. Don't forget to remove any wall hangings, switch plates, and outlet covers. Clean the walls with a damp cloth to remove dust and grease, as these can prevent paint from adhering properly.
The next step is to tape off areas that you don't want painted, such as baseboards, window frames, and door handles. Use painter's tape for the best results. Make sure to press the edges of the tape firmly to prevent any paint from seeping underneath.
Choosing the Right Paint
The type of paint you choose can greatly affect the outcome of your project. For most interior walls, a latex-based paint is a great choice due to its ease of application and quick drying time. If you're painting in an area that requires durability, such as a kitchen or bathroom, consider using an enamel-based paint for added resistance to moisture and stains.
Color selection is equally important. Consider the size and lighting of the room when choosing a color. Light colors can make a space feel larger and more open, while darker hues add warmth and coziness. Don’t be afraid to use sample pots to test colors on your walls before committing.
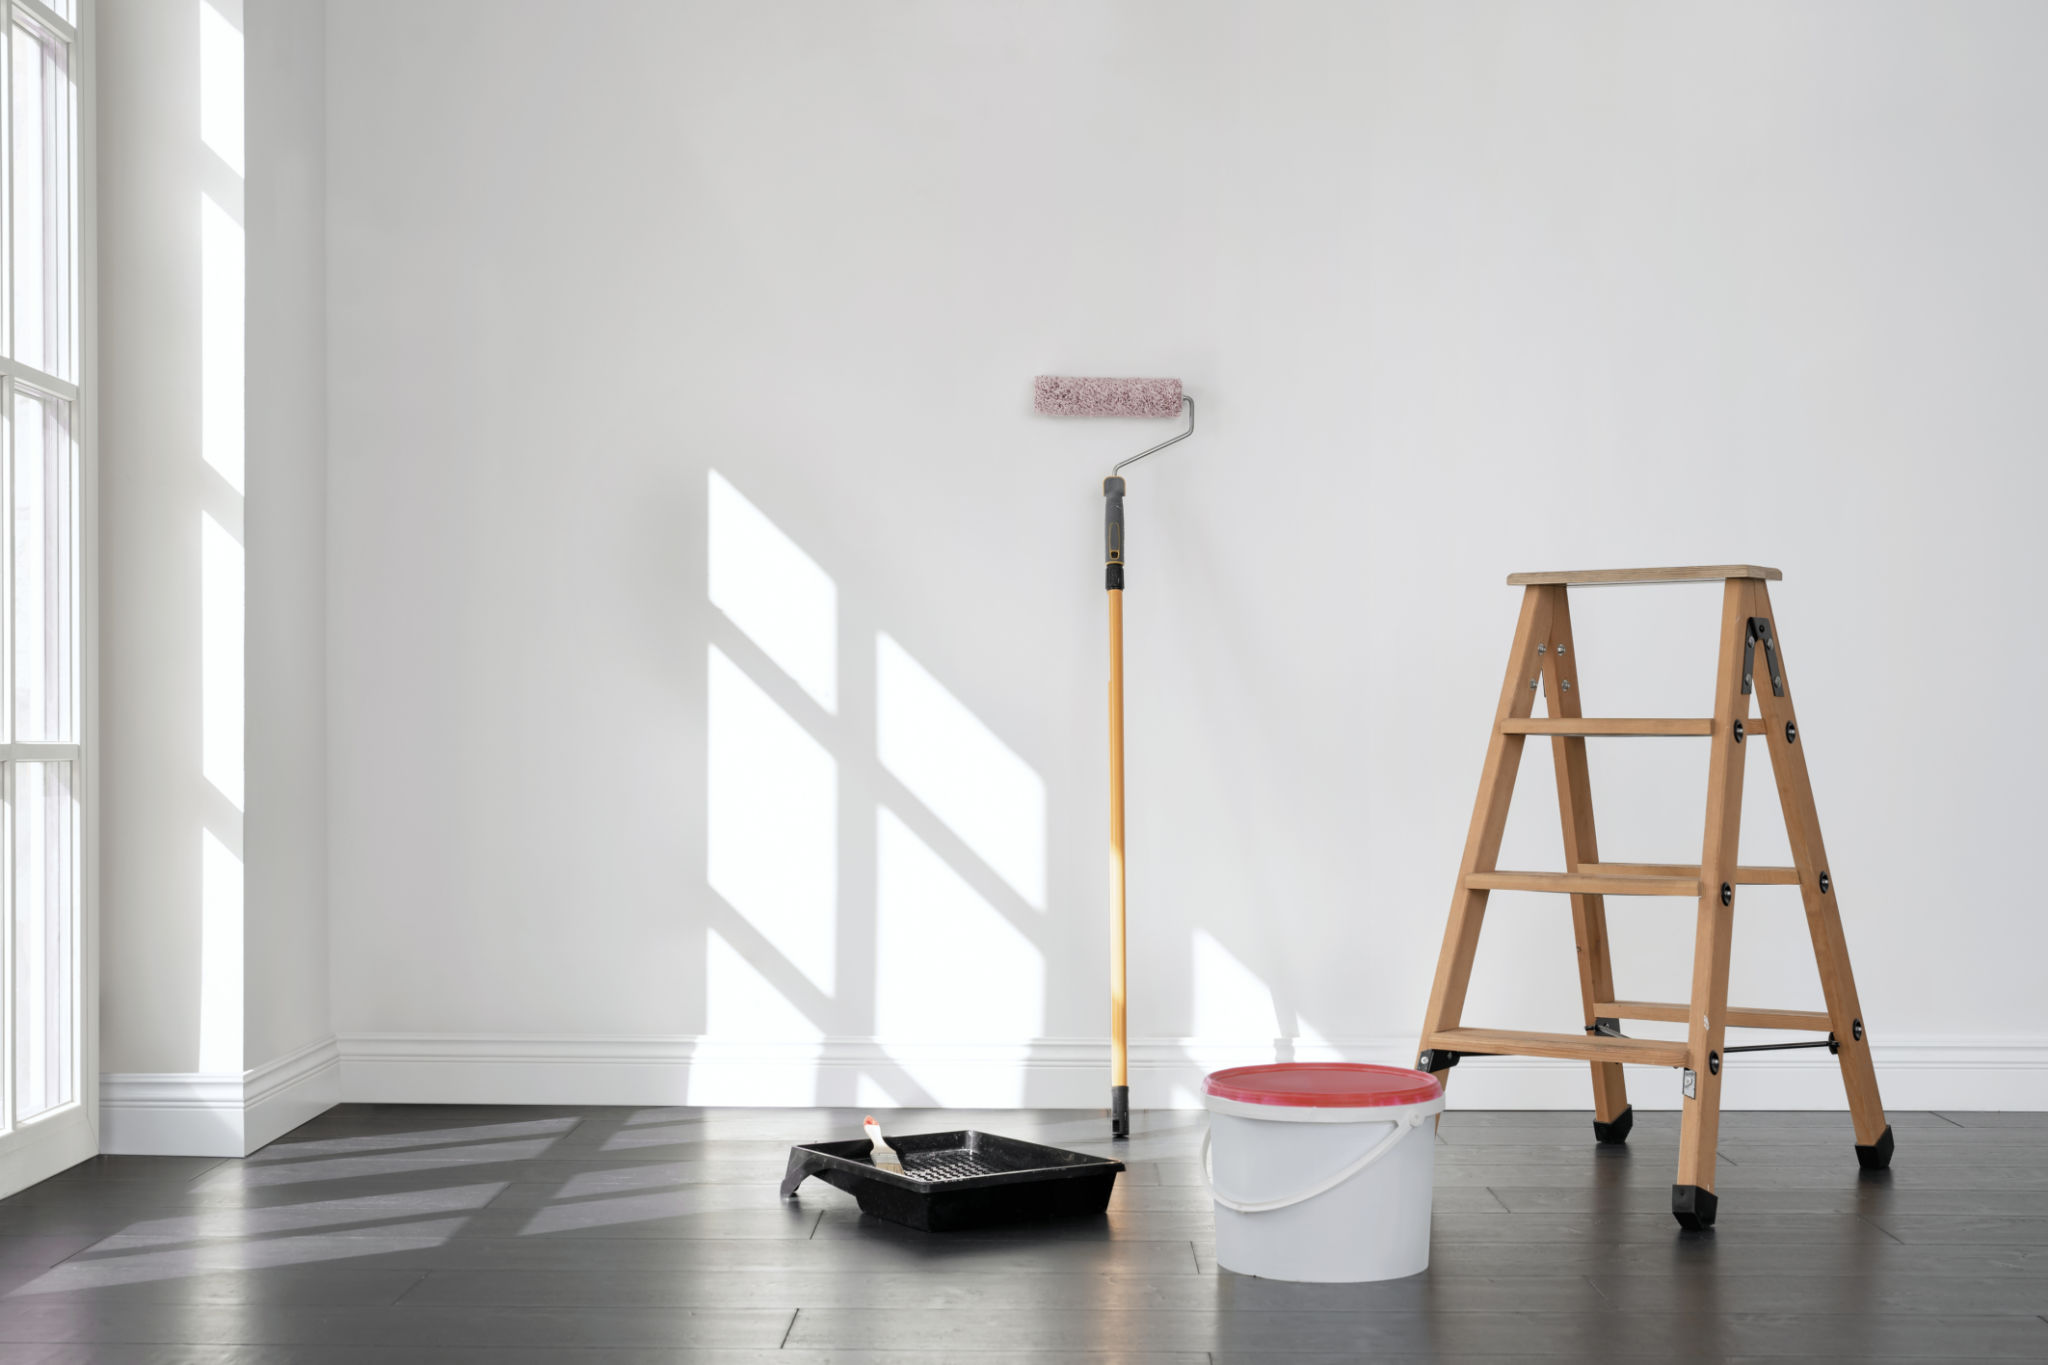
Essential Tools for Painting
Having the right tools can make a world of difference in your painting experience. Start with quality brushes and rollers; they might cost more upfront but provide smoother application and better coverage. A roller extension pole will help you reach higher areas without a ladder.
Invest in a paint tray with liners for easy cleanup, and consider using a paint grid with your bucket to remove excess paint from your roller. A sturdy step ladder will also be invaluable for reaching ceiling corners and high spots.
Mastering Painting Techniques
When it comes to technique, always start with cutting in. Use a brush to paint corners, edges, and areas around trim where a roller won’t reach. Work in small sections to keep the edge wet and prevent lap marks.
After cutting in, use a roller for the main wall areas. Apply paint in a "W" or "M" pattern to distribute it evenly before filling in the gaps. This helps to avoid streaks and ensures consistent coverage.

Finishing Touches
Once your walls are painted and dry, remove the painter's tape at a 45-degree angle while being careful not to peel away any fresh paint. Inspect your work for any missed spots or imperfections and do touch-ups as necessary.
Finally, clean your brushes and rollers immediately after use to extend their life. Store any leftover paint properly by sealing the can tightly and storing it upside down to prevent air from entering.
Enjoying Your New Space
Now that your project is complete, step back and admire your work! A fresh coat of paint can transform any room, giving it new life and energy. Whether you've gone for a bold color or something more subdued, enjoy the new atmosphere you've created.
Remember, interior painting is as much about preparation and technique as it is about creativity and personal expression. With these tips and tools at your disposal, you're well on your way to becoming a DIY painting pro.